Lets get the good news over with first shall we. My blog entries are now up to date, so I'll probably have this available to view at the show as a developers diary.
Right, on to the main reason for this entry, which if you haven't guessed, is about scripting for UDK. Scripting is the reason I haven't made the level any bigger and is also the reason why there might not be any custom characters. I'm not a programmer at heart, but I understand the benefits it can have to the artist with an understanding of it.
I have been able to create a third person camera, but in the process of learning about custom classes I managed to break just about everything else. Fortunately I managed to fix most of the problems and the level is playable (without enemies).
The problems that I'm left with however are causing me to go grey. If this keeps up my hair will be comparable to Mr. Fantastic's from The Fantastic 4.
There are a couple of minor aspects to do with weapons firing, but these are passable. The major issues are with the user interface side of things. The HUD still needs changing and the Pause Menu still doesn't Resume game. Dying in game is also a bit of a problem.
So far today I've been arguing with the Pawn classes, trying to get some of the UTPawn scripts working in my GSPawn script. This managed to fix some things while breaking others for no apparent reason.
I'll just have to move on to the UI aspects for now.
Monday, 30 May 2011
Sunday, 29 May 2011
End of Year Show Preparations

I've been heavily involved in the organisation of the show so far, organising the music to be played, marketing and trying to encourage people to take part.
On Thursday and Friday I put my project work on hold in order to start decorating the room where the show is being held. A small group of us played popular painting games like 'Don't step on the Carpet' and 'That's my paint brush, get your own'.
There's still a little left to do, but we should have it all ready by the end of Tuesday.
Now that I'm making this post, I should probably include more details on where and when the show is taking place.
City College Brighton & Hove
TRG-15, Trafalgar Building
Pelham Street
Brighton
BN1 4FA
01273 667788
The show is being held from Friday 10th June to Thursday 16th June (not including Sunday), between 9am and 5pm.
Third Person Camera Revised


The camera had a complete overhaul to get it to work properly. My camera class has become obsolete, as all of the camera functions are now in my Pawn class.
The movement of the camera has also been dramaticaly improved, the camera no longer focuses on the back of your head when up against a wall. Instead it now changes to a first person view point (as seen in the images above).
Again this is thanks to the tutorials on Allar's Awesome Blog.
Fractured Meshes & Extra Detail

The level I'm creating is very small, so I want it to be as detailed as possible. For this I am using various Static Meshes.
Some of the meshes have been converted into Fractured Meshes to add more of an interactive element to the gameplay (plus it's always fun to break things). It also makes it possible to add secret areas...

The image above shows me demonstrating on one of the fractured meshes.
Weapons Revised
As I said before, I'm having a bit of trouble with the weapons in UDK. As a result I've decided to try and use the default scripts for them as much as possible.
So far I've managed to get the gun to fire, and the primary function is even visible. As with everything there is a problem. I need to look up how to offset where the gun fires from, as at the moment it fires from in front of the character's chest.
I'm happy that the gun fires at least, so I'll move onto more important aspects of the build and come back to this later.
ForceField & Cinematic

As you can see in the image above, I managed to create a forcefield for my level. This was achieved by following a very good video tutorial (several parts).

This is what part of it looks like in Kismet.

The switch is now in place and has an extra texture layer on it which gives it an intermittent glow (to let players know that they can interact with it).
I've also created my first cinematic scene in UDK for this (mainly because it doesn't rely on any particular character being present). When a player hits the switch, the camera zooms out and then changes to a view of the forcefield, which in turns disappears.
As a final touch I added an interact icon for when the player approaches the switch.
Weapons
I've attempted to create my own weapons class for use in my game, however this is much harder than I anticipated. The time required to complete this task to a standard I'd be happy with is too great for this project. Currently, you cannot see the weapons firing at all.
I'll come back to this after I've got a bit more in place.
I'll come back to this after I've got a bit more in place.
Loading Screen

When loading the level from the main menu screen there is a brief moment where a loading screen is visible. To make it look more professional I created my own loading screen.
The word 'Loading' scroll sideways across the screen, and the star rotates.
Saturday, 28 May 2011
Progress So Far

As you may well have been able to tell, a lot of these entries have been made in a row. To try and keep ahead I've made notes as I went along so that I could update this blog when I reached a safe stage in production. There are a few more to make before they're on track again though.
The image above shows the current state of my level. The layout is finished so I just need to add bits of detail, fix the HUD and Pause Menu, and fix the weapons (which don't fire properly). Actually there's quite a bit more to do...
The lighting is finished, as well as ambient sounds.
Pause Menu

My ambitious project takes another leap forward with the addition of a custom pause menu. Again, all assets for it were created using Photoshop and Flash.
I've managed to get the Main Menu button working but not the Resume Button. looks like I'll need to dabble a bit more in the scripting to get it to work.
The HUD

I've created a temporary HUD to display in my level, with a health bar and place holder for ammo count.
It'll do for now, but it will need major modifications to get it to function correctly. The plan is to have the health bar scale down when damaged and have it rescale for different screen resolutions.
Main Character

I've finished modelling my main character for the game. Obviously I'm not going to post all of the details about her here, but they will be in my proposal documents that will be submitted as part of my college work.
Unfotunately I still need to rig, skin, texture and animate her, all of which are very time consuming.
Splash Screen

For the fun of it, and to make a more complete package, I decided to add my own Splash screen. The artwork is from one of my concept pieces shown in a previous entry.
I also added the UDK and Bink Video logos to it.
Bink
I wanted to add my personal ident that I made during my 3D Animation Unit earlier in the year. To do this I first had to convert my video into a .bik file. To do this I downloaded the RAD Game Tools from their website.
Once the video was converted I put it into the Movies folder in my UDK installation and changed the confif files again to get it to show at the start.
Main Menu

To create the menu I needed to create another level in UDK, which is just a box room.
Next I created the assets in Adobe Photoshop and imported them into Flash.
Flash was used to create the layout and some of the functionality on the button. Once saved I could import the SWF file into UDK's Content Browser and use Kismet to get the menu to work as it should.
The last part of implementation was to edit the relevant config file to tell UDK to use my menu instead of it's default one.
Friday, 27 May 2011
Scaleform
With the more recent builds of UDK it seems Epic have decided to remove the UI Scene Editor from it. Obviously this could prove to be problematic due to my desire to create a level featuring all aspects of game creation.
I first came across Scaleform when looking through Allar's Blog (see previous post) and it's what I'm using to create the various menus required.
I've set up Adobe Flash to communicate properly with it as demonstrated in one of the tutorials on the Scaleform Website.
My first task with this is to create a main menu for the game to replace the default, which means I'll also need to look up how to tell UDK to load mine in it's place.
Third-Person Camera

This is definitely one of the more time consuming aspects of my project to date. At first I tried implementing a third-person perspective using Kismet, only to find out that I couldn't aim up or down with the character.
As a result of this I needed to look into how scripting worked for UDK and I can tell you now it isn't much fun! Thankfully there are plenty of tutorials to look at. One website I found was particularly useful at introducing me to scripting (I've never done programming before).
Allar's Awesome Blog
I managed to find a tutorial that covered the implementation of the camera.
Camera Tutorial
I'm not entirely happy with the way the camera functions at the moment as you can't see past the character if you are next to a wall. I've made a couple of adjustments to the script to suit my purposes and I'll look into improving it at a later point.
I'm the Fire Starter!
For my torches to serve a purpose I needed to make some fire. For this I used the particle emitters in UDK to make my own flames, following this tutorial on 3D Buzz.
Paticles Tutorial
The tutorial was easy to follow and didn't take long to complete. The result was effective and really adds a new feel to the created environment.

To finish it off I added lights and sound effects to make it more realistic.
Thursday, 26 May 2011
More Models & Mapping
Obviously the torch isn't going to be my only custom mesh in UDK. I needed a switch and a gate to add an easy puzzle element to the level. I worked on the switch first, which I made look like a small access terminal.

This was made using a simple box primitive with one face inset and extruded to add the detail. Extra detail was added using textures to keep the poly count as low as possible. The UVW Maps were a lot better on these models. This was also the first time I've made an emissive texture to light up the display panel.

As for the gate I decided to turn it into a forcefield, mainly because I wanted to add some technology to the scene and give it a sci-fi edge. I used the same techniques used for the switch for the textures.
Now that the doorway has been built, all I need to do to finish it is to create a forcefield texture for it.
Torches

One of the main meshes that will be apparent in my level is the torch. These will be dotted around the level to provide the light sources. It is a very simple model and was my first experiment with UVW Mapping too.
This also gave me my first taste of importing models from an external programme into UDK. I had to go back and make several adjustments to my model before I finally got it to work as it should.
Though I could easily do better it will stay as it is due to time constraints, but now that my understanding of what UDK needs from the models I should be able to improve the level of detail without compromising too much on time.
Building the Level
The majority of the level will be built with BSP brushes and textured with pre-existing textures to save time.
Detail will be added using static meshes, some of which will be my own creations (I'll put some posts up about those). I've made some custom textures for some of them, ready to go.
The Plan
The game will be a third-person sci-fi shooter. It will act as a technical demo also with plans to use Scaleform to create various menus. I will be adding as much story as possible given the time scale involved by including cinematics.
I have decided which programmes to use for my end of year project. Obviously I will be using the Unreal Development Kit (UDK). It's free to download and there's plenty of support for it in the form of tutorials. I'm using the April 2011 release of the engine. Below are links to websites I'm using that provide support for the software.
UDK Forums
3D Buzz
I will also be using 3DS Max to create some extra assets for the level. Again there are various tutorials on the net that I can use, and I can get support from my tutors.
I'm not sure what I'm going to use to make make the animation sets but i would like to try to use Motion Builder.
Other programmes include Photoshop and NotePad++.
Concept Art
I have produced a set of concepts for my final piece to give a rough idea of what I'm working towards.
My first pieces were level concepts.

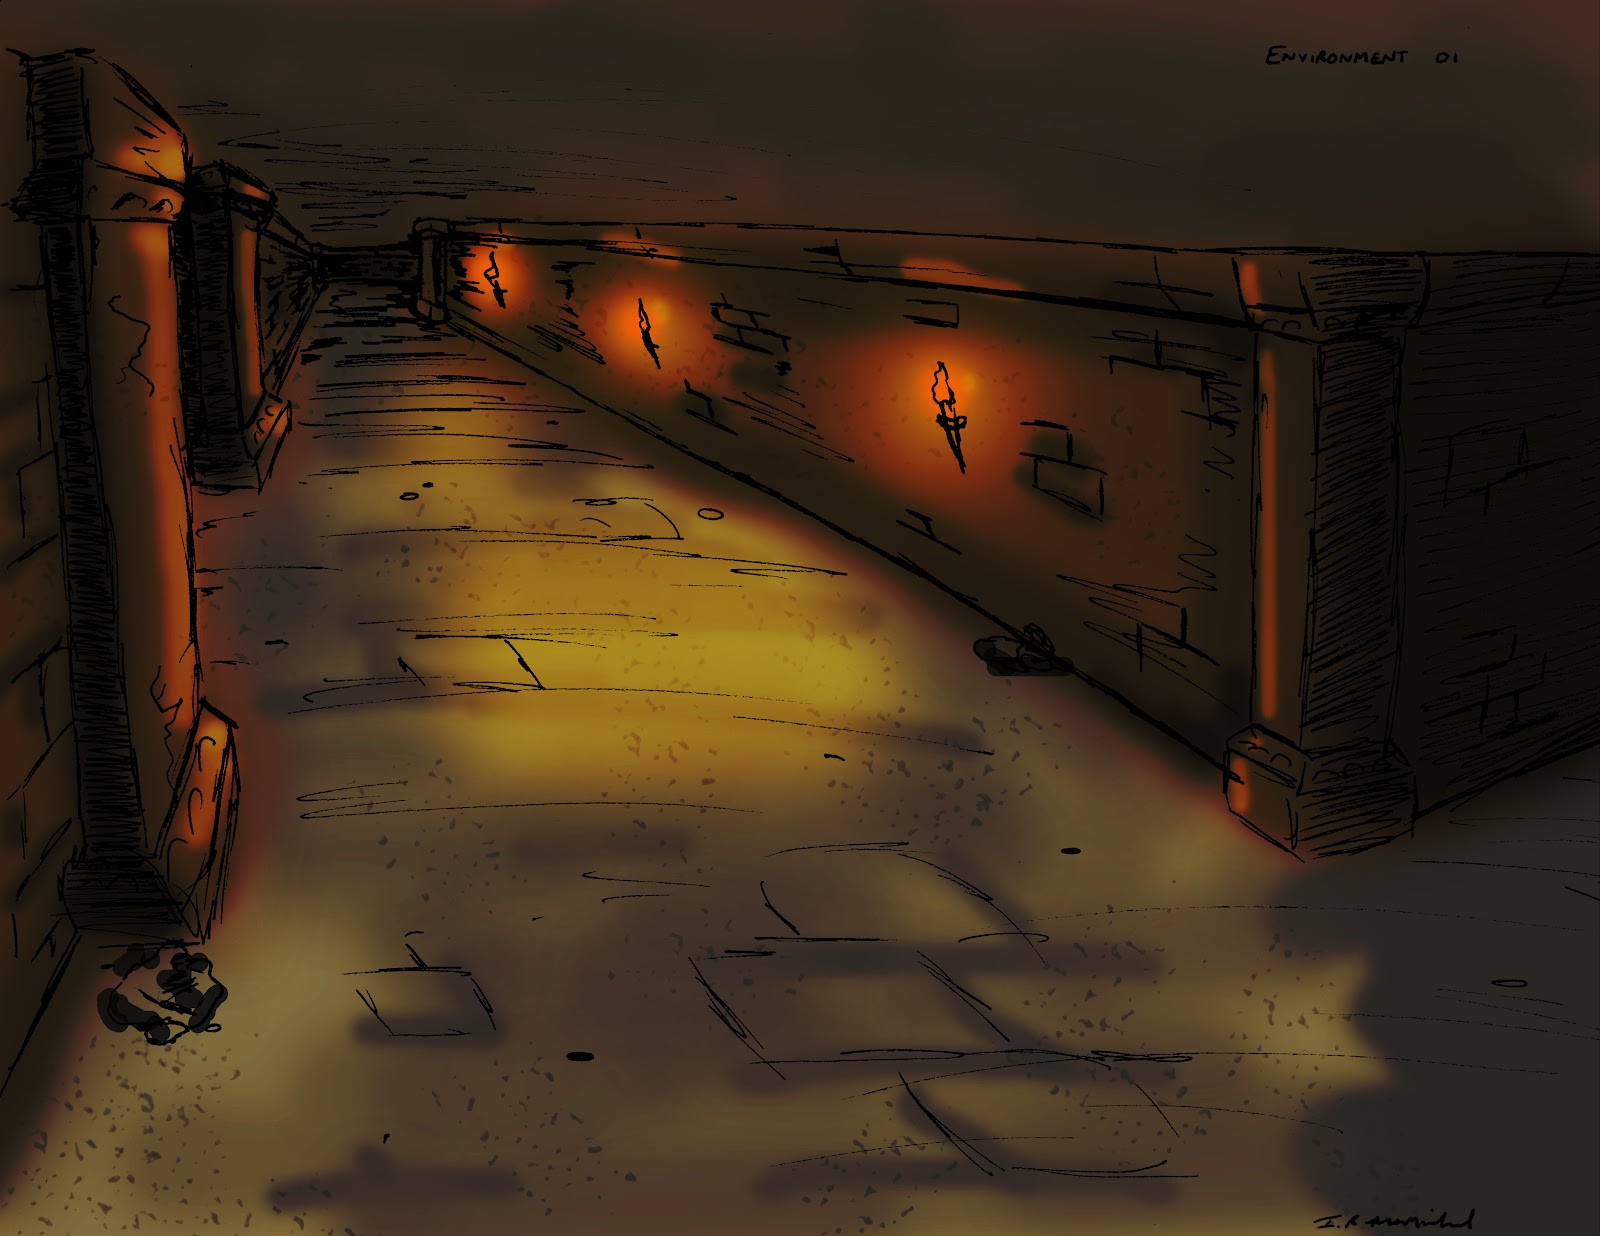
This one shows what the corridors are going to look like in terms of textures and lighting.

The second concept shows the first battle area with the aliens (shown in a previous entry).

The last piece for level concepts shows the planned boss area. It's going to be a big arena. This area will contain foliage.

And this is the character I would like to use for my game. Her name is Nola and I will be using 3DS Max to create her.
.jpg)
This is the last piece for this entry. It is a full colour image to capture the style and feel of the game. It should be gritty and action packed.
My first pieces were level concepts.
This one shows what the corridors are going to look like in terms of textures and lighting.

The second concept shows the first battle area with the aliens (shown in a previous entry).

The last piece for level concepts shows the planned boss area. It's going to be a big arena. This area will contain foliage.

And this is the character I would like to use for my game. Her name is Nola and I will be using 3DS Max to create her.
.jpg)
This is the last piece for this entry. It is a full colour image to capture the style and feel of the game. It should be gritty and action packed.
Level Design

I've finally managed to find the time to update my blog. It's been non-stop since my my last entry, and my plan to turn this into a live developer's diary have dwindled. However, I have been making notes so that I could update you on how it's going and will do so in several entries following this.
This entry is focused on my level design for which I have included a map above. As you can see it has a simple layout which is relatively small. The four red dots represent the gate that will be opened by the switch. The bit that makes this project so ambitious is the scripting required to implement a third person camera (covered in another entry).
The map also forms part of my PowerPoint presentation for one of the units.
Subscribe to:
Comments (Atom)